So, you may be wondering how long it takes to replace a water pump in your vehicle.
Well, let me tell you a little story about my own personal experience.
I once took my car to a mechanic to get the water pump fixed, and they told me it would only take a few hours.
Ha! Little did I know, it would end up taking the whole day and most of my savings.
I ended up learning how to replace a water pump myself and now, I’m here to share my knowledge with you.
Now, if you’re like me and don’t want to get ripped off by a shady mechanic, it’s time to roll up your sleeves and get to work.
But don’t worry, I promise it’s not rocket science.
And, the best part is, you’ll save yourself some serious cash in the long run.
So, buckle up, buttercup, and let’s get started!.
Table of Contents
Step 1: Gather Your Tools
The first step to replacing your water pump is to gather all the tools you’ll need.
You’ll need the following:.
- Ratchet and socket set
- Pliers
- Adjustable wrench
- Screwdrivers
- Fan clutch tool
- Coolant
Step 2: Locate the Water Pump
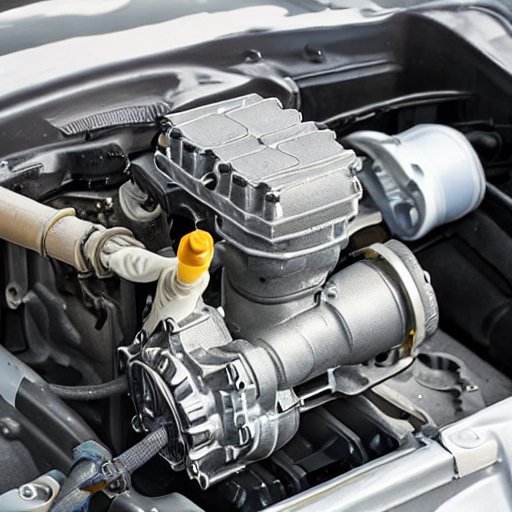
The next step is to locate the water pump.
It’s usually located at the front of the engine, near the radiator.
It’s the part that circulates the coolant through the engine.
Step 3: Drain the Coolant
Now that you’ve located the water pump, it’s time to drain the coolant.
To do this, you’ll need to locate the drain plug at the bottom of the radiator.
Use a wrench to loosen the plug and let the coolant drain into a container.
Make sure to dispose of the coolant properly.
Step 4: Remove the Drive Belt
The next step is to remove the drive belt.
This is the belt that connects the water pump to the engine.
Use a ratchet and socket to remove the bolts that hold the belt in place.
Once the bolts are removed, the belt should come off easily.
Step 5: Remove the Water Pump
Now that the drive belt is off, it’s time to remove the water pump.
Use a ratchet and socket to remove the bolts that hold the water pump in place.
Once the bolts are removed, the water pump should come off easily.
Step 6: Install the New Water Pump
The next step is to install the new water pump.
Simply line up the bolt holes and use a ratchet and socket to tighten the bolts.
Make sure the water pump is securely in place.
Step 7: Reinstall the Drive Belt
Once the water pump is securely in place, it’s time to reinstall the drive belt.
Line up the belt with the pulleys and use the ratchet and socket to tighten the bolts.
Make sure the belt is snug and running properly.
Step 8: Fill with Coolant
Finally, it’s time to fill the coolant back up.
Use the container you drained the coolant into to pour it back into the radiator.
Make sure to fill it to the proper level, usually indicated by the “full” line on the side of the radiator.
Step 9: Start the Engine
After filling the coolant, start the engine and let it run for a few minutes.
Check for any leaks or issues, and if everything seems to be running smoothly, you’re good to go!.
FAQ
Q: What if I don’t have all the tools listed?
A: No problem! You can usually rent or borrow the tools you need from a local auto parts store.
Just make sure to have all the necessary tools before starting the job.
Q: Can I do this myself if I have no experience with car repairs?
A: Yes, but with caution.
Replacing a water pump can be a bit of a challenge if you’ve never done it before.
It’s important to have a clear understanding of the process and to follow each step carefully.
If you’re unsure about anything, it may be best to consult a professional.
Q: How much can I save by replacing the water pump myself?
A: That depends on how much you would pay a mechanic to do it, but it’s estimated that you could save anywhere from $200 to $500 by doing it yourself.
It’s a great way to save some cash and learn a new skill at the same time!.
The Great American DIY Adventure
So, there you have it! A step-by-step guide to replacing a water pump like a boss.
It may take some time and effort, but the satisfaction of completing the job yourself and saving some cash is worth it.
Plus, you’ll impress all your friends with your new mechanical skills.
So, go ahead, give it a shot and let me know how it goes in the comments below.
Happy wrenching!.